


Ever scroll through Instagram and wonder how coffee shops create those picture-perfect drinks with stunning layers, perfect foam art, and rich colors? The good news is you don't need years of barista training or expensive equipment to make café-quality drinks at home. With the right techniques and quality flavored coffee, you can create show-stopping beverages in just 5 minutes.
The secret isn't complicated machinery or professional skills—it's understanding a few simple principles about layering, temperature, and presentation. Whether you're looking to impress guests, boost your social media game, or simply treat yourself to something special, these easy techniques will transform your daily coffee routine.
The Foundation: Choosing Your Coffee Base
Before diving into specific recipes, let's talk about the foundation of any great drink—your coffee. Quality flavored coffee blends make all the difference in both taste and visual appeal. The richer and more aromatic your base, the more impressive your final creation will be.
For hot drinks, brew your coffee slightly stronger than usual since you'll be adding milk, cream, or other ingredients that naturally dilute the flavor. For cold drinks, cold brew concentrate or double-strength hot coffee that's been cooled work beautifully. The key is maintaining that robust coffee flavor even after all your creative additions.
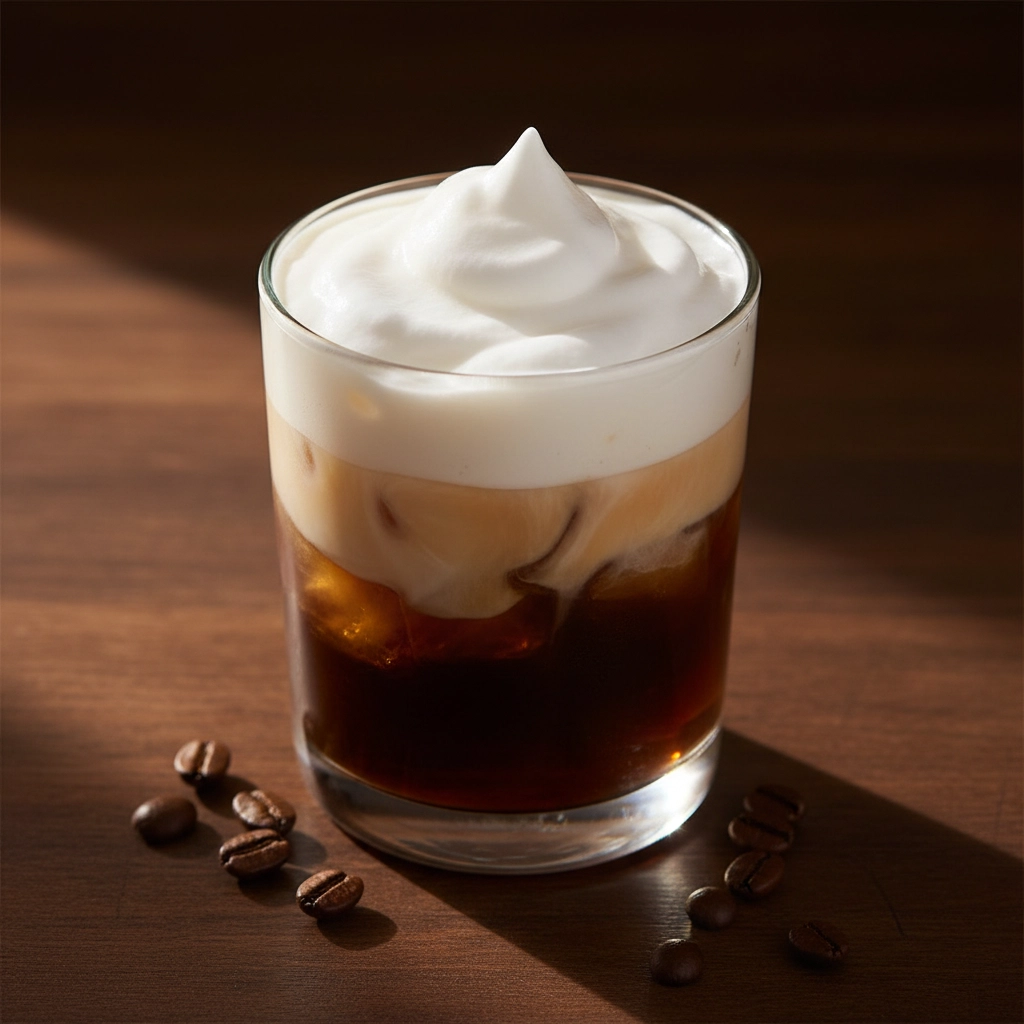
Recipe 1: Vanilla Cold Foam Cold Brew
This drink is pure Instagram gold with its beautiful layered effect and cloud-like foam topping. Start with your favorite cold brew coffee poured over ice in a clear glass—transparency is crucial for showcasing those gorgeous layers.
Add about 2 tablespoons of milk or oat milk directly to your cold brew, creating the first subtle color gradient. In a separate container, combine 3 tablespoons of cold milk with half a packet of vanilla syrup. Here's where the magic happens: use a simple milk frother, French press, or even a jar with a tight lid to create foam. If using the jar method, fill it only halfway with your milk mixture and shake vigorously for 30-60 seconds until you achieve thick, creamy foam.
Pour the remaining vanilla syrup into your coffee and stir gently. Then, using a spoon, carefully layer the cold foam on top. The foam should float like a perfect white cloud, slowly mixing with the coffee below for a mesmerizing visual effect that photographs beautifully.
Recipe 2: Caramel Oat Milk Latte
This warming drink offers the perfect balance of rich coffee and sweet caramel with a creamy, Instagram-worthy presentation. Begin by brewing a strong cup of your favorite flavored coffee or espresso. While it's still hot, stir in 1-2 tablespoons of caramel syrup, adjusting sweetness to your preference.
Heat your oat milk in a small saucepan or microwave until steaming but not boiling. If you have a milk frother, create some light foam—if not, whisking vigorously for 30 seconds will add some texture and air.
Pour the coffee mixture into your serving glass first, then slowly add the heated oat milk. Pour from a height of about 6 inches to create natural mixing and those beautiful golden swirls that make this drink so photogenic. Finish with a drizzle of additional caramel syrup on top, creating decorative patterns with a toothpick if desired.
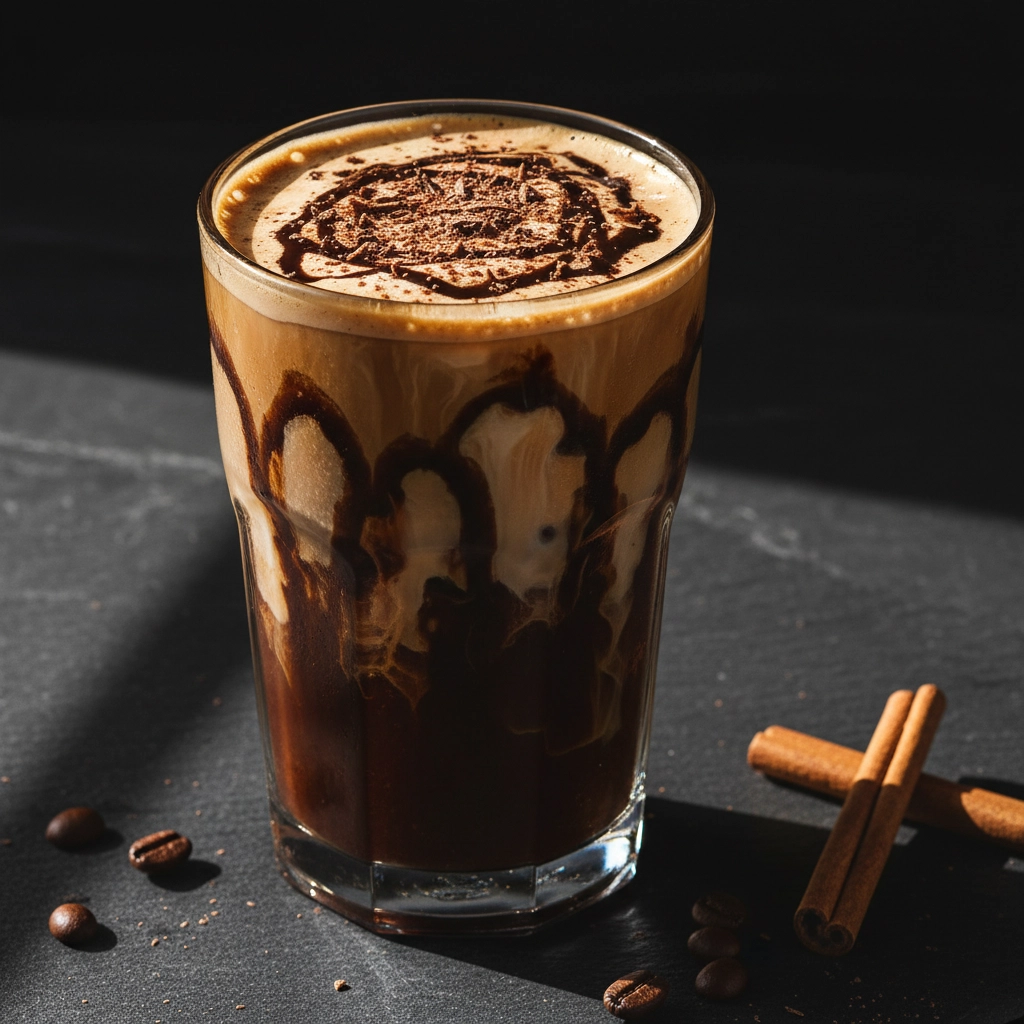
Recipe 3: Chocolate Cinnamon Iced Coffee
For chocolate lovers, this rich and indulgent drink creates stunning visual contrast with its deep brown hues and creamy swirls. This recipe works particularly well with flavored coffee blends that have chocolate or nutty notes.
Combine 2 teaspoons of instant coffee, 1 tablespoon of sugar, 1 teaspoon of cocoa powder, a few drops of vanilla extract, and a pinch of cinnamon in a small bowl. Add 2 tablespoons of dark chocolate sauce for extra richness and visual appeal. Mix everything with 2-3 tablespoons of warm water until you have a smooth, concentrated mixture—no lumps should remain.
Fill your glass with ice and pour the chocolate coffee concentrate over it. The mixture should settle at the bottom, creating a dark base. Slowly add cold milk, pouring over the back of a spoon to maintain distinct layers. The chocolate sauce creates beautiful marbled patterns as it naturally swirls through the drink, making each glass unique and Instagram-ready.
Recipe 4: Vanilla Pistachio Iced Latte
This sophisticated flavor combination creates a beautiful pale green and cream color palette that's perfect for social media. Start with cold brew coffee or chilled espresso as your base.
In your serving glass, combine the coffee with 1 tablespoon of vanilla syrup and 1 tablespoon of pistachio syrup. Stir well to ensure the flavors meld together. Add ice, filling the glass about three-quarters full.
For the milk component, use whole milk or oat milk for the richest color and creaminess. Pour slowly over the ice, creating natural layers and gradients. The pistachio flavor adds a subtle nutty sweetness while the vanilla rounds out the flavor profile beautifully.
Top with a light dusting of crushed pistachios if available, or a simple sprinkle of cinnamon for color contrast and an extra photo-worthy finish.
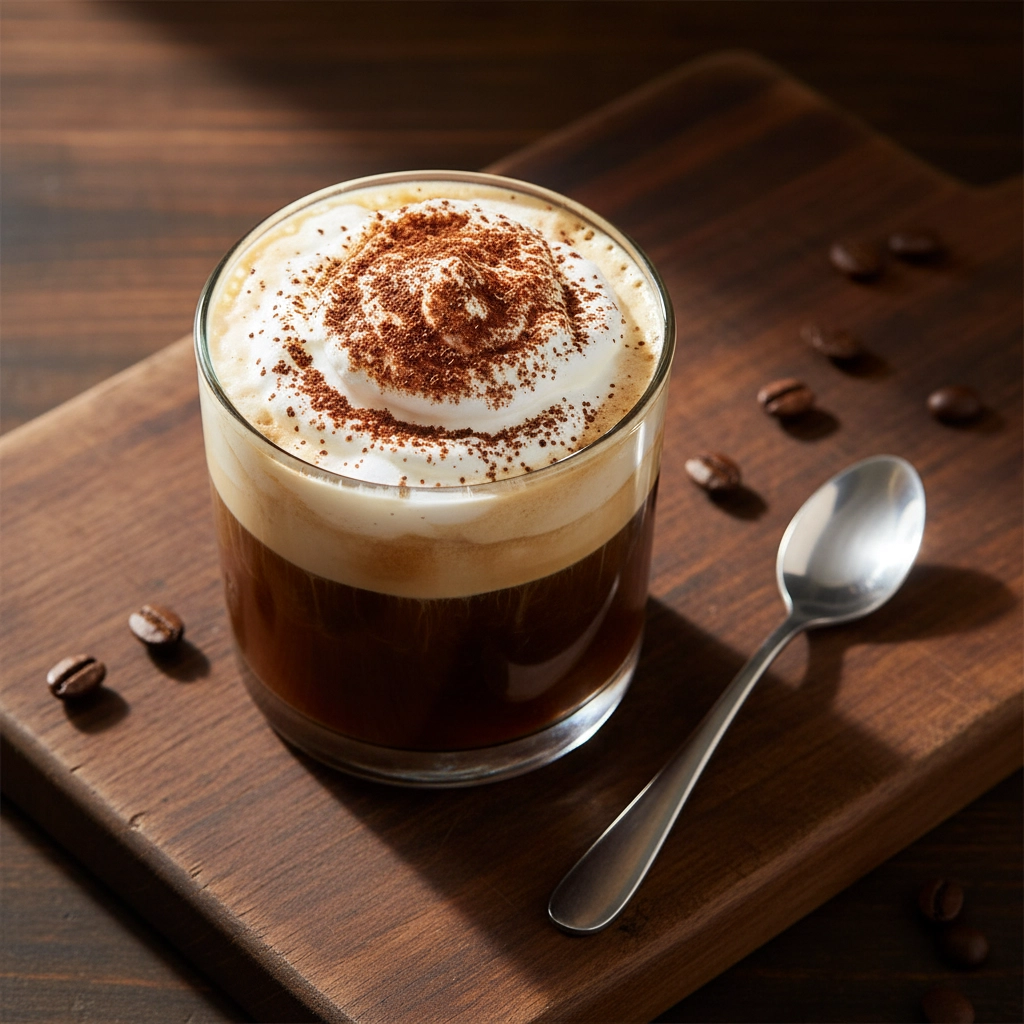
Recipe 5: Tiramisu Iced Coffee
Capture the essence of the classic Italian dessert in a refreshing coffee drink that's as beautiful as it is delicious. This recipe plays with coffee, cream, and cocoa flavors to create a sophisticated beverage.
Brew strong coffee and let it cool to room temperature. In your serving glass, combine the coffee with 1 tablespoon of vanilla syrup and a teaspoon of cocoa powder—whisk until the cocoa is fully dissolved with no clumps.
Add ice and slowly pour in cold milk or cream. The key to the tiramisu effect is the finishing touch: lightly whip some heavy cream with a tiny bit of vanilla and sugar until it just holds soft peaks. Spoon this over the top of your drink and finish with a dusting of cocoa powder, just like the classic dessert.
Styling Tips for Perfect Photos
Glass Selection Makes Everything Clear glasses are non-negotiable for showcasing your beautiful layered creations. Tall glasses work best for cold drinks, while wide mugs are perfect for hot beverages. The transparency allows all your careful layering work to shine through.
Master the Art of Layering Temperature and density differences are your best friends for creating natural layers. Pour liquids slowly over the back of a spoon to control the flow and prevent immediate mixing. Cold ingredients will naturally settle below warm ones, and denser syrups will sink below lighter milk.
Garnish Like a Pro Small details make huge differences in photos. A light dusting of cocoa powder, a sprinkle of cinnamon, or a decorative syrup drizzle takes just seconds but elevates the entire presentation. Use a toothpick to create patterns in foam or swirl contrasting colors together for artistic effects.
Lighting and Angles Natural light near a window creates the most appealing photos. Shoot from slightly above your drink to capture both the layers and the surface details. Don't forget to clean the outside of your glass before photographing—water spots and fingerprints show up clearly in photos.
Equipment Hacks That Save Money
You absolutely don't need expensive espresso machines or professional frothing equipment to create these drinks. A simple milk frother costs under $20 and works perfectly for creating foam and mixing ingredients. Even more budget-friendly, a clean jar with a tight-fitting lid creates excellent foam when you shake milk vigorously for 30-60 seconds.
For heating milk without a steam wand, your microwave works perfectly—just heat in 15-second intervals, stirring between each, until steaming. A small saucepan on the stove gives you more control and prevents overheating.
French presses aren't just for coffee—they're excellent for frothing milk too. Simply pour warm milk into your clean French press and pump the plunger up and down rapidly for 30-60 seconds.
Pro Tips for Consistent Success
Temperature Control Hot coffee with cold milk creates natural layering effects, while matching temperatures will blend immediately. Use this principle to control whether your drink has distinct layers or a smooth, uniform appearance.
Sweetener Strategy Add syrups and sweeteners to your coffee base first, while it's hot, to ensure complete dissolution. This prevents grainy textures and uneven sweetness distribution.
Make-Ahead Elements Cold brew concentrate, flavored simple syrups, and even coffee ice cubes can be prepared in advance. This cuts your actual drink-making time down to just a minute or two.
The beauty of these recipes lies in their flexibility. Once you master these basic techniques, you can experiment with different flavor combinations, seasonal ingredients, and creative presentations. Each drink becomes a canvas for your creativity, and with practice, you'll develop your own signature style that's uniquely yours.
Remember, the goal isn't perfection—it's enjoying the process and creating something beautiful and delicious. Even if your first attempts don't look exactly like café creations, they'll taste amazing and improve with each try. Your Instagram followers (and your taste buds) will definitely appreciate the effort.