Let's get one thing straight: you don't need to be the next Picasso to create stunning latte art at home. In fact, forget everything you think you know about "artistic talent" – what we're talking about here is pure technique, muscle memory, and a little bit of coffee science. Think of it like learning to ride a bike or tie your shoes. Once you get the mechanics down, it becomes second nature.
The secret sauce isn't in your artistic genes; it's in understanding the physics of milk, mastering a few key techniques, and practicing the right movements. Ready to impress yourself (and maybe your Instagram followers)? Let's dive in.
The Foundation: It's All About That Milk
Before we even think about creating pretty patterns, we need to talk about the star of the show: your milk. This is where most people mess up, and it's also where you can set yourself up for guaranteed success.
Your steamed milk should look like wet paint – glossy, silky, and completely free of those big, ugly bubbles that make your latte look like a bubble bath. This texture isn't just for aesthetics; it's the foundation that makes everything else possible.
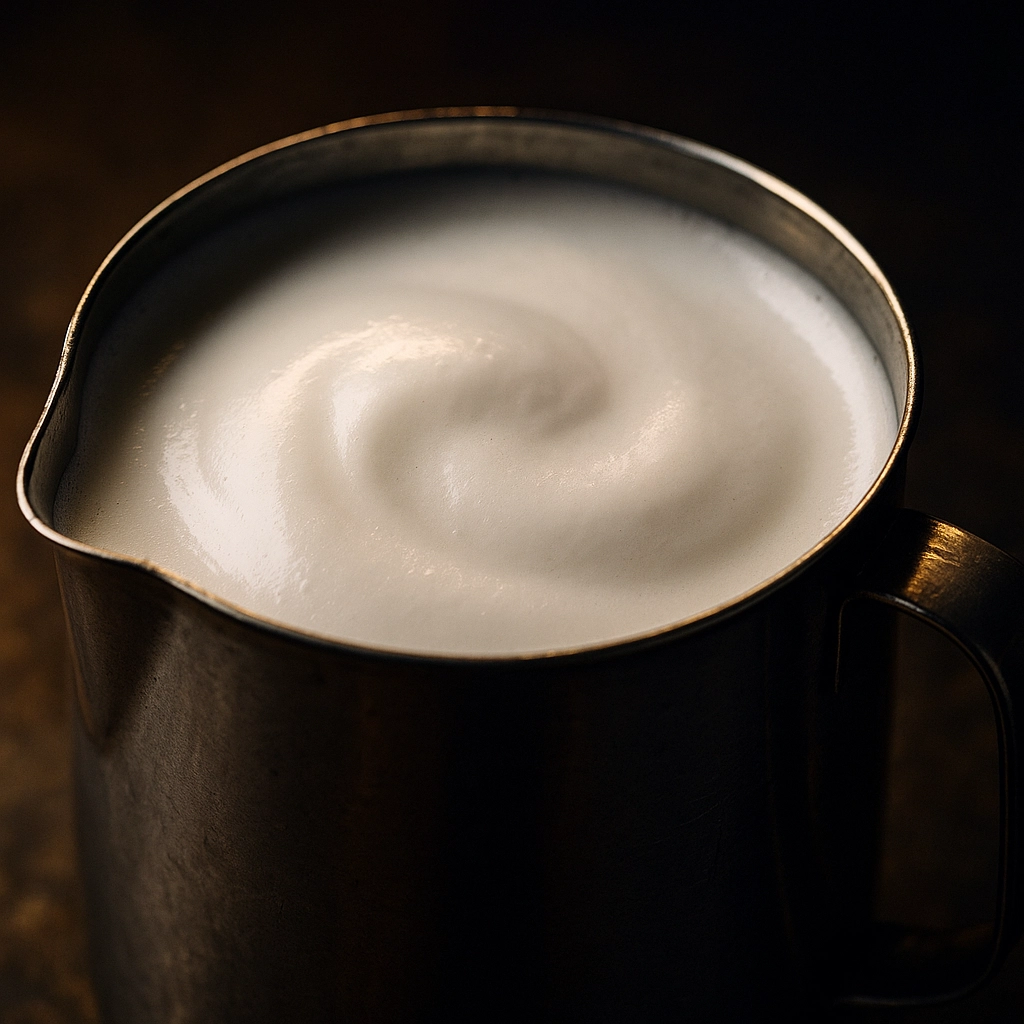
When you're steaming milk, work that pitcher in tight, concentric circles. You're looking for what baristas call "microfoam" – those tiny, uniform bubbles that integrate seamlessly with the liquid milk. The transformation is pretty obvious once you know what to look for: your milk goes from looking matte and slightly green to shiny and silky.
Here's a pro tip that'll save you tons of frustration: if your milk looks like Mount Vesuvius just erupted in your pitcher, you've gone too far. Start over. Trust me on this one.
The Two-Phase System That Actually Works
Now here's where we get systematic about this whole thing. Professional latte art follows a two-phase approach that takes all the guesswork out of the equation. No more hoping for the best and ending up with what looks like a coffee tornado.
Phase 1: Create Your Canvas
Think of this as prep work. You're adding a small amount of that perfectly steamed milk to the bottom of your espresso and swirling it around until everything becomes one uniform color and texture. This isn't the fun part, but it's crucial. You're creating a "blank canvas" that's going to show off your design clearly.
Phase 2: The Magic Happens
Position your cup with the handle pointing toward your body and tilt it at about a 45-degree angle. This angle is your friend – it gives you more surface area to work with and better control over your pour.
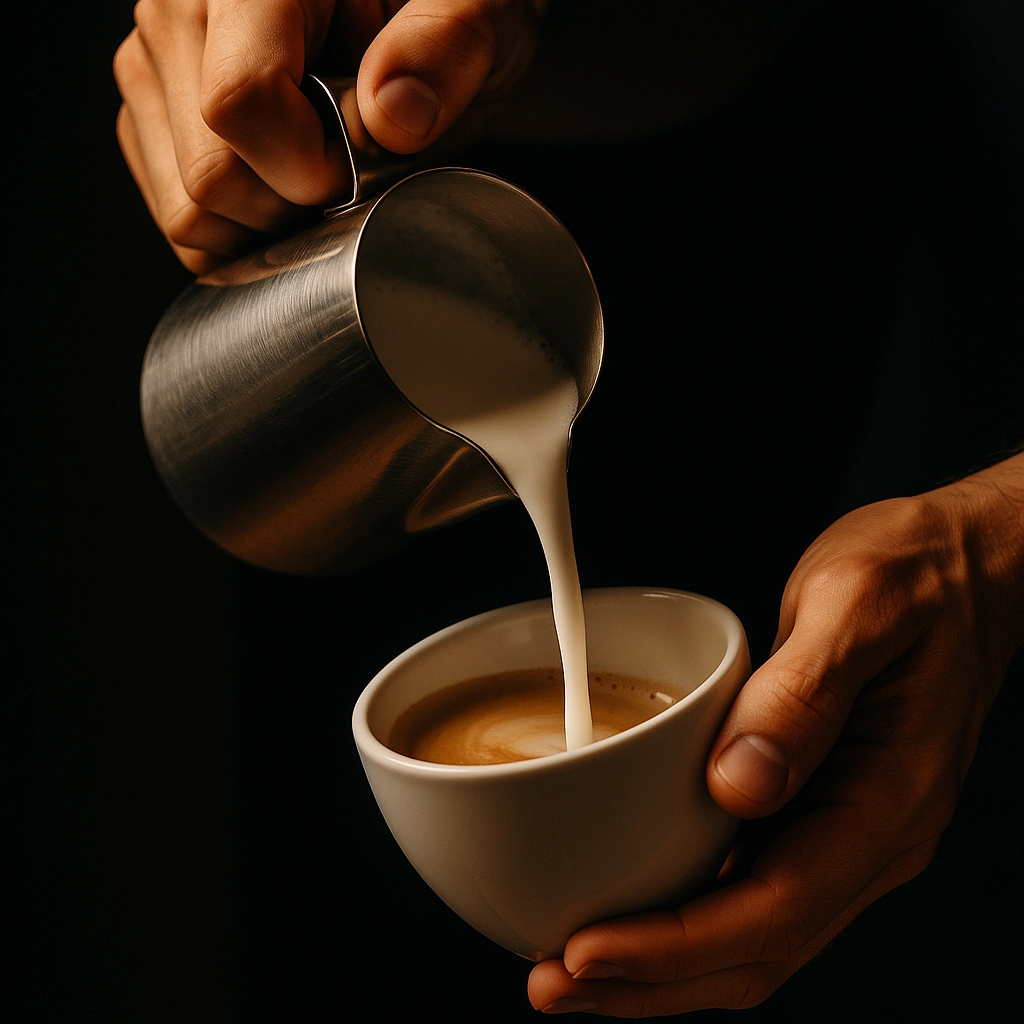
The pouring technique follows a specific rhythm: high and slow, then low and fast. Start by pouring from about 4-5 inches above the surface with a stream about as thick as a pencil, aimed right at the center. This height ensures your milk properly mixes with the espresso instead of just sitting on top doing nothing.
When your cup hits about two-thirds full, here's where the magic happens: drop that pitcher close to the surface and pour faster. This is the moment your design appears.
Master the Heart: Your Gateway Drug to Latte Art
The heart pattern is like the "Hello, World!" of latte art programming. It's the most fundamental pattern, and mastering it teaches you everything you need to know for more complex designs. Plus, hearts are universally loved, so you can't really go wrong.
Here's your step-by-step breakdown:
- Create your base using the method we just covered
- Start pouring high and centered to get that good mixing action going
- When you hit two-thirds full, drop the pitcher close to the surface
- Pour faster to create a white circle in the center of your cup
- As the cup fills up, lean forward and slice through that circle toward the left to create the heart's point

The key here is getting way closer to the surface than feels natural. Most beginners pour from too high, which makes the milk dive below the surface instead of floating on top where it creates those beautiful visible patterns.
Technical Secrets That Actually Matter
Let's talk about the details that separate okay latte art from the stuff that makes people stop scrolling on social media.
Control Your Wiggle: This isn't a dance party. Avoid wiggling the pitcher too quickly. Those clean, defined patterns come from deliberate, controlled movements. Fast wiggling creates muddy-looking designs instead of those crisp stripes and swirls you're after.
Speed Is Your Friend: During the design phase, pouring faster helps the milk "fan out" and cover more of the cup's surface. This creates bolder, more visible patterns that actually photograph well.
Think "Skipping Rocks": When you drop low for the design pour, imagine you're skipping rocks across a lake. The milk should glide across the espresso's surface rather than diving through it like a submarine.
Practice Without Breaking the Bank
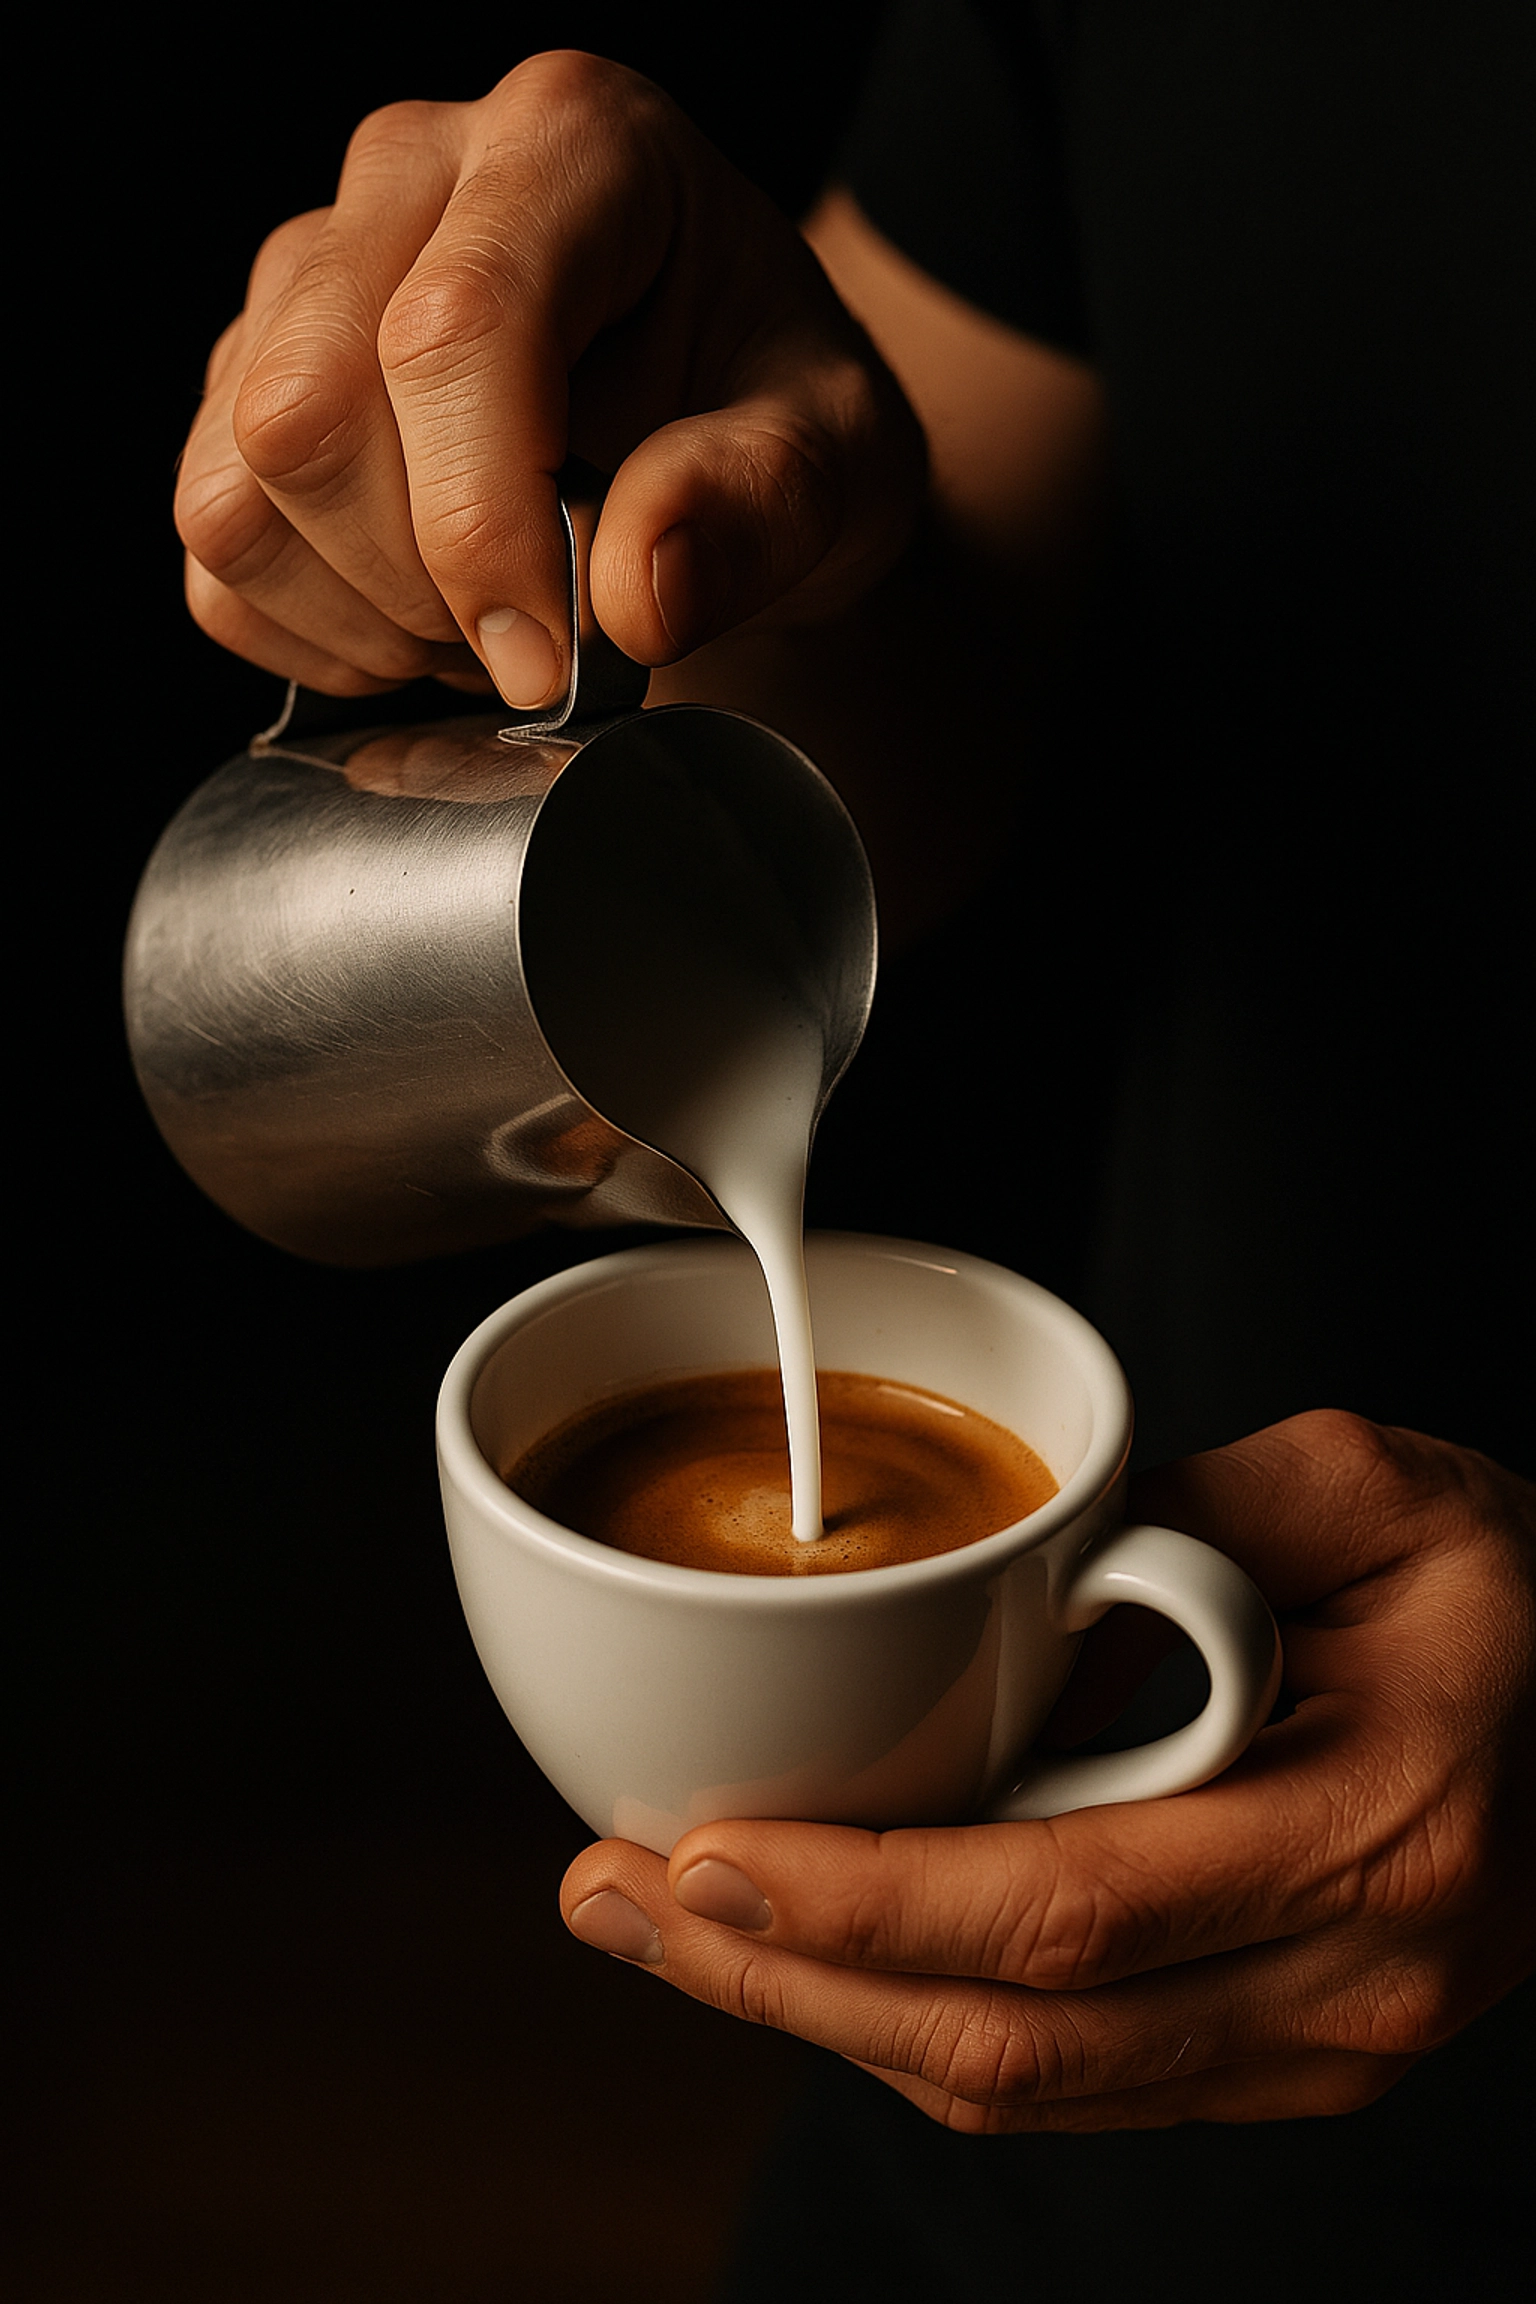
Here's something they don't tell you in those fancy barista courses: you can develop serious muscle memory without constantly burning through coffee beans and milk. Practice your pouring motions with just water. Focus on consistent hand movements, work on your timing, and get comfortable with the pitcher before you start using the good stuff.
Set up a practice station with cups filled with water and practice the high-to-low transition, the speed changes, and the wrist movements that create patterns. Your wallet will thank you, and you'll progress faster because you can focus purely on technique without worrying about wasting ingredients.
Why This Actually Works
The beauty of approaching latte art this way is that it removes all the mystique and uncertainty. You're not hoping to channel your inner artist; you're following a proven system that creates consistent results.
Every professional barista learned these same techniques. The difference between them and home enthusiasts isn't some magical artistic gift – it's repetition, understanding the science behind what they're doing, and following systematic approaches.

Think of it like learning to parallel park. The first few times feel impossible, but once you understand the reference points and develop the muscle memory, it becomes automatic. Latte art works exactly the same way.
The milk texture, the pouring height, the speed transitions, the cup angle – these are all variables you can control and perfect through practice. And once you nail the heart pattern, you'll have the foundation skills to tackle rosettes, tulips, and eventually those Instagram-worthy swan designs.
Your Next Steps
Start with the basics we've covered: perfect that milk texture, practice the two-phase pour, and master the heart pattern. Don't try to run before you can walk – those fancy multi-layer designs you see on social media all build on these fundamental techniques.
Remember, every professional barista started exactly where you are right now. The only difference is they put in the practice time and focused on technique over trying to create masterpieces from day one.
Ready to transform your morning coffee routine? Grab your favorite Gently Ground Coffee blend and start practicing. Your future self (and your Instagram feed) will thank you.


