Let's be honest, when you see those gorgeous rosetta patterns and perfect hearts floating on lattes at your favorite coffee shop, you probably think "I could never do that." Well, here's the thing: you absolutely can, and you don't need to be Picasso to pull it off.
The secret that baristas don't always tell you? Latte art isn't really about being artistic. It's about mastering technique, understanding some basic science, and practicing a few specific movements. Think of it like learning to ride a bike, once you get the mechanics down, muscle memory takes over.
Whether you're using premium Gently Ground Coffee beans or experimenting with your current setup, these foolproof techniques will have you creating Instagram-worthy lattes faster than you'd expect.
Getting Your Equipment Right
Before we dive into the fun stuff, let's talk tools. You don't need a $3,000 espresso machine, but you do need a few key pieces to make this work.
Essential gear:
- An espresso machine with a steam wand
- A milk pitcher with a spout (stainless steel works best)
- Fresh coffee beans that produce good crema
- Whole milk (trust us on this one)

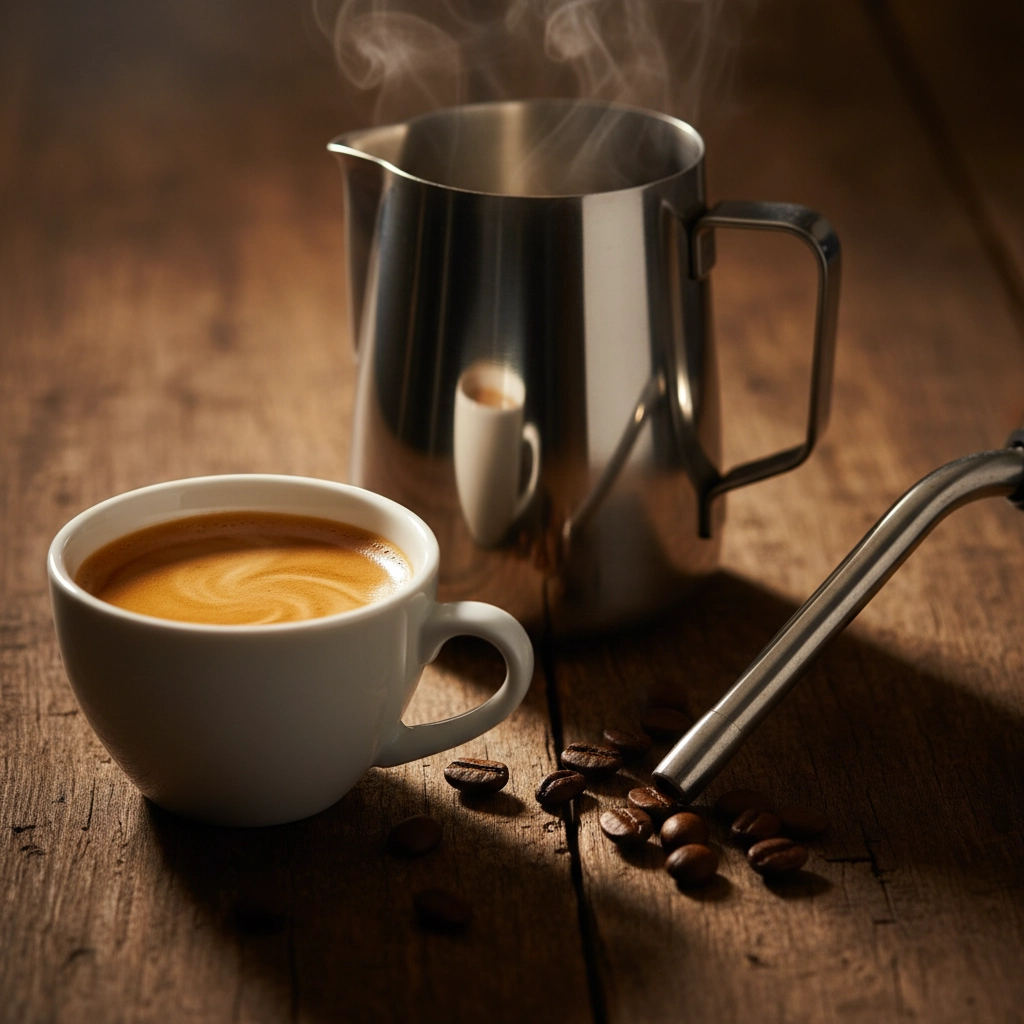
The quality of your espresso shot is actually crucial here. If your coffee doesn't have that golden-brown crema layer on top, your beautiful designs will just sink right into the cup. This is where using freshly roasted, high-quality beans makes a real difference. Weak crema equals disappearing art, every time.
For milk, stick with whole milk when you're learning. It creates the most forgiving microfoam, and that extra fat content helps your designs stay put. Once you're feeling confident, you can experiment with alternatives, but whole milk is your training wheels.
The Science Behind Perfect Microfoam
Here's where things get a little nerdy, but stay with us, understanding this will make everything click.
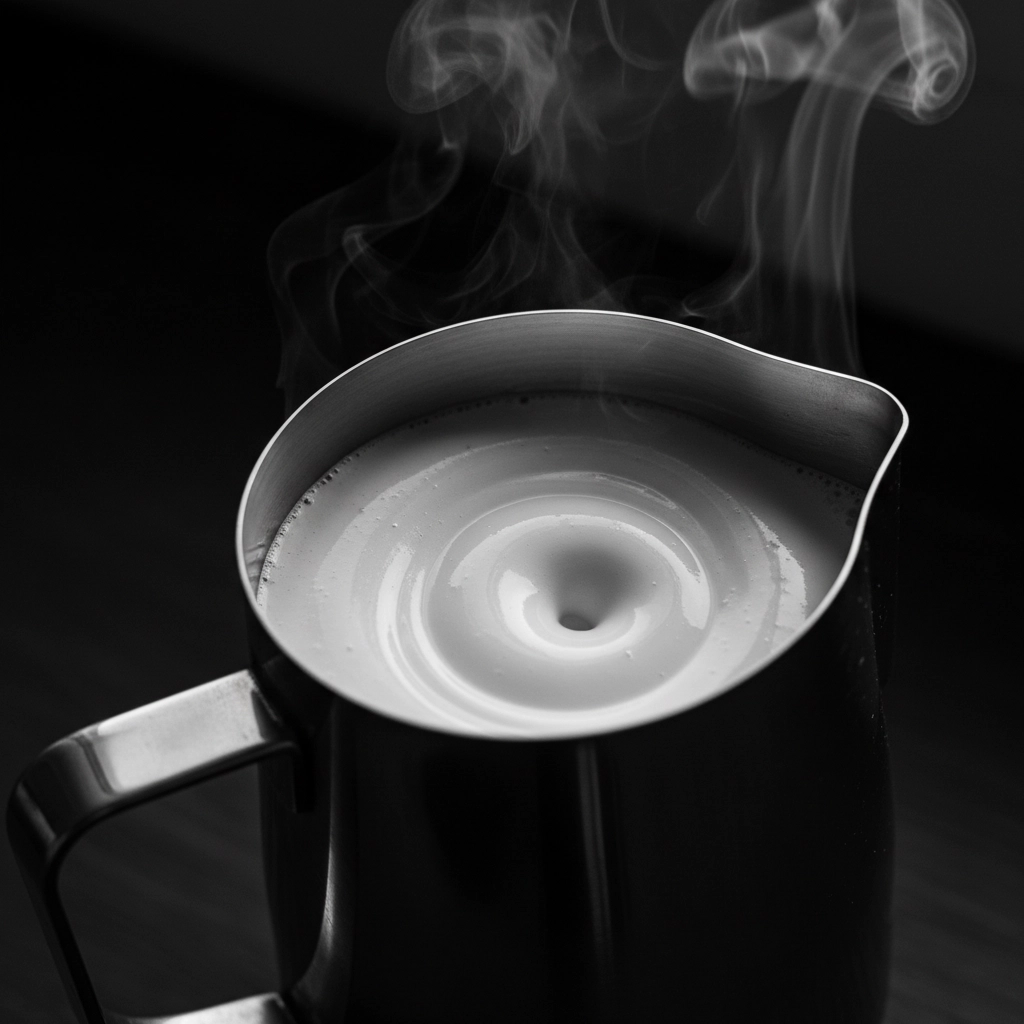
The goal is to create milk that looks like "wet paint", smooth, glossy, and with microfoam so fine you can barely see individual bubbles. This texture is what allows your designs to float on the surface instead of mixing into the coffee.
Steaming technique:
- Position your steam wand just below the milk surface
- Turn on the steam and keep it there for about 3-4 seconds (this creates the foam)
- Plunge the wand deeper and continue heating until the milk reaches 140-150°F
- Tap the pitcher on the counter to break up large bubbles
- Swirl continuously before pouring
Temperature control is huge here. If your milk gets too hot (over 160°F), it'll be too thin and sink into your coffee. Too cool, and it won't integrate properly with the espresso. That 140-150°F sweet spot gives you the perfect consistency.
Master the Two-Phase Pour (This Changes Everything)
Okay, here's the game-changer that makes latte art feel less like magic and more like following a recipe. Every single pattern: hearts, rosettas, tulips: follows the same basic two-phase approach.

Phase 1 - High and Slow (The Mixing Phase): Start with your cup tilted at about 45 degrees. Pour a thin stream from 4-5 inches above the surface, aiming for the center of the cup. This height prevents the milk from creating patterns too early and helps mix everything into that perfect canvas.
Keep this up until your cup is about halfway full. You're basically creating a "blank slate" of coffee and milk that's ready for your design.
Phase 2 - Low and Fast (The Design Phase): Here's where the magic happens. Drop your pitcher close to the surface (we're talking almost touching), straighten your cup, and pour faster by tilting the pitcher more. This low, fast pour is what creates all those beautiful patterns.
The milk will start to "fan out" and stay on the surface instead of mixing in. This is exactly what you want: it means you're doing it right.
Start with the Heart (Your Foundation Pattern)
The heart might look simple, but it teaches you every fundamental movement you need for more complex designs. Plus, there's something satisfying about nailing a perfect heart in your morning coffee.

Step by step:
- Use your two-phase technique until the cup is about two-thirds full
- Get your pitcher very close to the surface (almost "skipping rocks" close)
- Pour a steady stream directly into the center
- When you see white milk pooling on the surface, cut through it with a quick forward motion
That forward motion creates the heart's point. The key is committing to that final stroke: hesitation makes wonky hearts.
Don't worry if your first few look more like blobs than hearts. The technique is more important than the result right now. Once your muscle memory kicks in, those hearts will start looking professional.
Advanced Patterns Made Simple
Ready to level up? Here's the secret to rosettas and tulips: they're just variations on the same controlled movements you've been practicing.
For Rosettas: Use the same two-phase technique, but during phase two, add gentle side-to-side "wiggling" of your pitcher. Not too fast: you want controlled movements that create those beautiful striations. The brown and white striped pattern is what makes a rosetta look professional.
For Tulips: These are all about stopping and starting your pour in the same spot. Pour a dollop, stop, pour another dollop on top, stop, repeat. Each stop creates a new segment of the tulip. Finish with a quick stroke through the center.
Practice Without Breaking the Bank
Here's a pro tip that'll save you money and reduce waste: you don't need fresh coffee and milk for every practice session.
Water practice is incredibly effective for developing your pouring technique. Use plain water to master your hand movements and pouring angles. It sounds weird, but muscle memory is muscle memory.
For practicing with your actual espresso machine, steam one cup of milk and reuse it for multiple attempts. Just add fresh coffee grounds to your cup for each try. This lets you practice different designs repeatedly with the same milk, which is perfect for building consistency.

When Things Go Wrong (And They Will)
Let's troubleshoot the most common issues because everyone hits these bumps:
Milk sinks into coffee: Your milk is either too thin or too hot. Check your steaming technique and temperature.
Patterns lack definition: Your foam is too thick, or the milk separated during steaming. Focus on creating that "wet paint" texture.
Uneven white areas: You're probably inconsistent with your pouring speed or height. Steady movements are key.
Everything just looks like a mess: You might be rushing into phase two. Make sure you're creating that proper canvas with your high, slow pour first.
The beautiful thing about latte art is that even "failed" attempts still taste great. Every wobbly heart and lopsided rosetta is practice that gets you closer to those perfect pours.
Making It Stick
Consistency comes from repetition, but smart repetition. Focus on nailing the two-phase technique before worrying about complex patterns. A perfect heart made with proper technique will always look better than a sloppy rosetta.
Set aside 10-15 minutes a few times a week to practice. Use your water practice method when you want to work on movements, and save the milk practice for when you really want to see results.
Most importantly, have fun with it. The whole point is to add a little joy to your coffee routine. Whether you're making coffee for yourself or impressing friends, those homemade latte art skills are going to bring smiles all around.
Remember, every barista started exactly where you are now. The only difference is practice: and maybe a slightly steadier hand from making hundreds of lattes. But you'll get there, one perfectly imperfect heart at a time.


